

Binary Mask Labeling Tool
The Mask Labeling Tool allows users to manually draw binary masks. These masks can then be saved and fed into Ramona’s machine learning model training to optimize the segmentation and confluence tools for users.
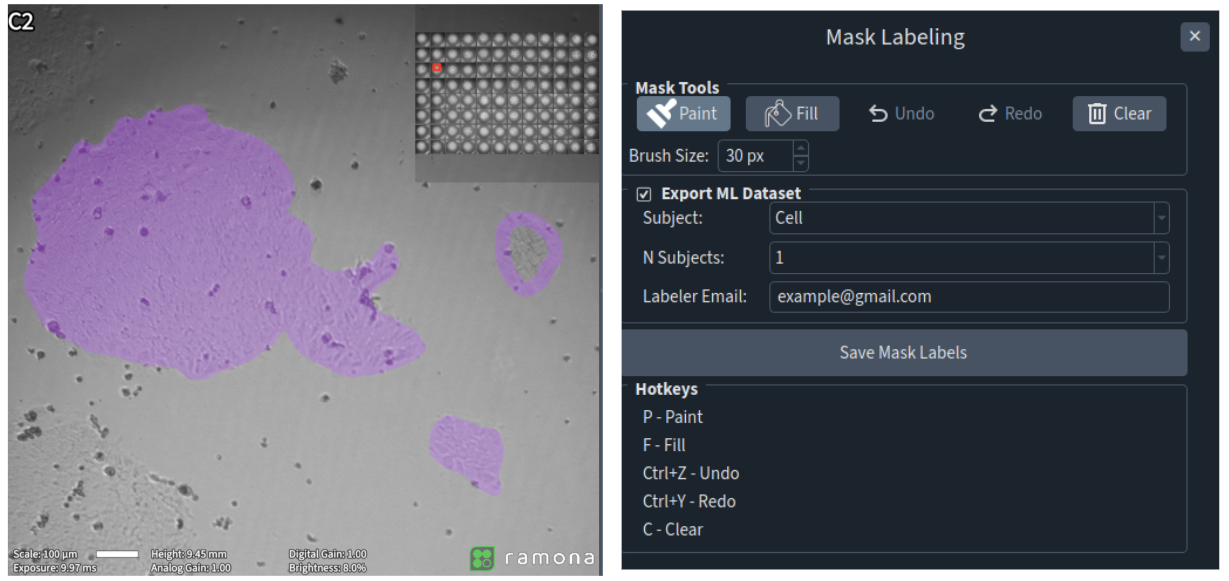
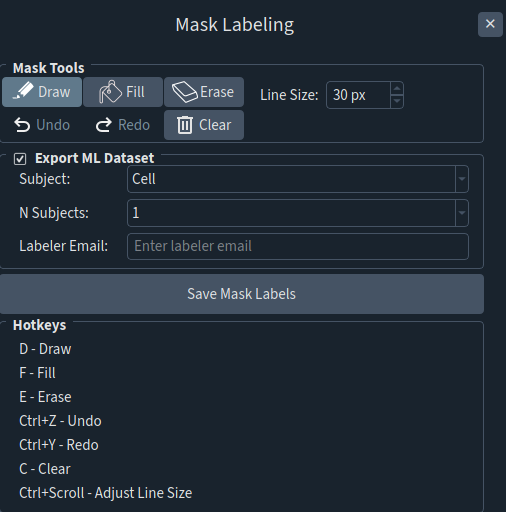
Step |
Function |
|---|---|
1 |
Open an acquired dataset in the MCAM™ Viewersoftware. |
2 |
Navigate to Tools > Mask Labeling. A panel will open on the right. |
3 |
Click “Draw” under Mask Tools. This is your paintbrush. Navigate to an object of interest, then click, hold, and drag your cursor around its boundaries. Your goal is to paint the perimeter of the object of interest. |
4 |
Click “Fill” to use the fill tool, and fill the object. Note that the boundaries of the sample image also count as perimeter to the fill tool, filling a sample will not overflow into other images. |
5 |
(Optional) To undo a change to the annotations, Click Undo. To redo a change after an undo, Click Redo. |
6 |
Repeat step 3 and 4 until all objects of interest are masked. Click the Middle Mouse Button to pan around the screen when needed. |
7 |
Click “Save Mask Labels” to save the masks. |
8 |
The results are saved in a folder named “mask_labeling_analysis_results” in the provided dataset’s folder with the metadata for the masks. |
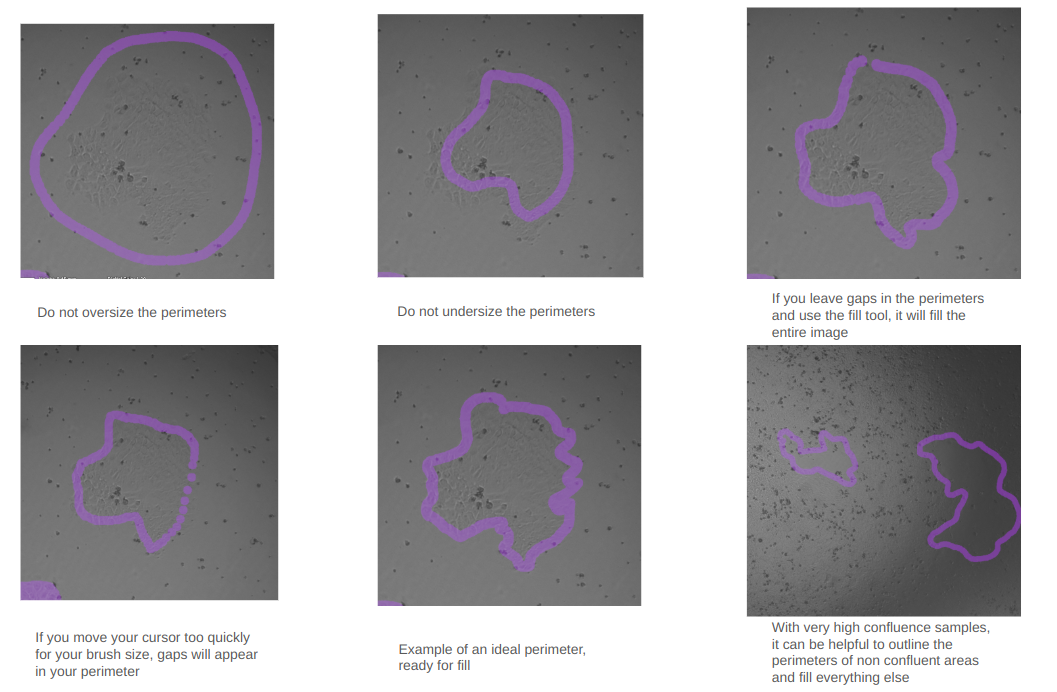 How to draw mask perimeters correctly around objects of interest.